

I've designed over 500 YouTube thumbnails.
Today I'm going to share all my tricks for making thumbnails FASTER:
- How to get hundreds of high-quality poses of yourself
- How to create a consistent look
- A sprinkle of thumbnail strategy (especially in the last tweet)
Today I'm going to share all my tricks for making thumbnails FASTER:
- How to get hundreds of high-quality poses of yourself
- How to create a consistent look
- A sprinkle of thumbnail strategy (especially in the last tweet)

Here's the main hack right up front:
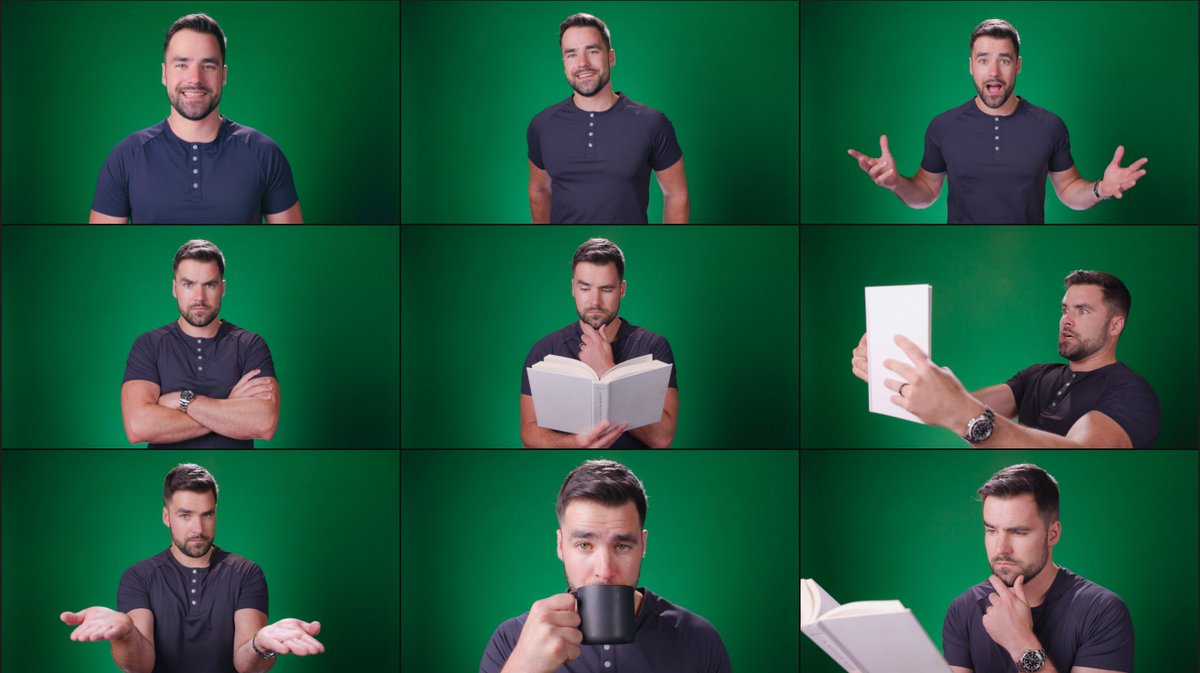
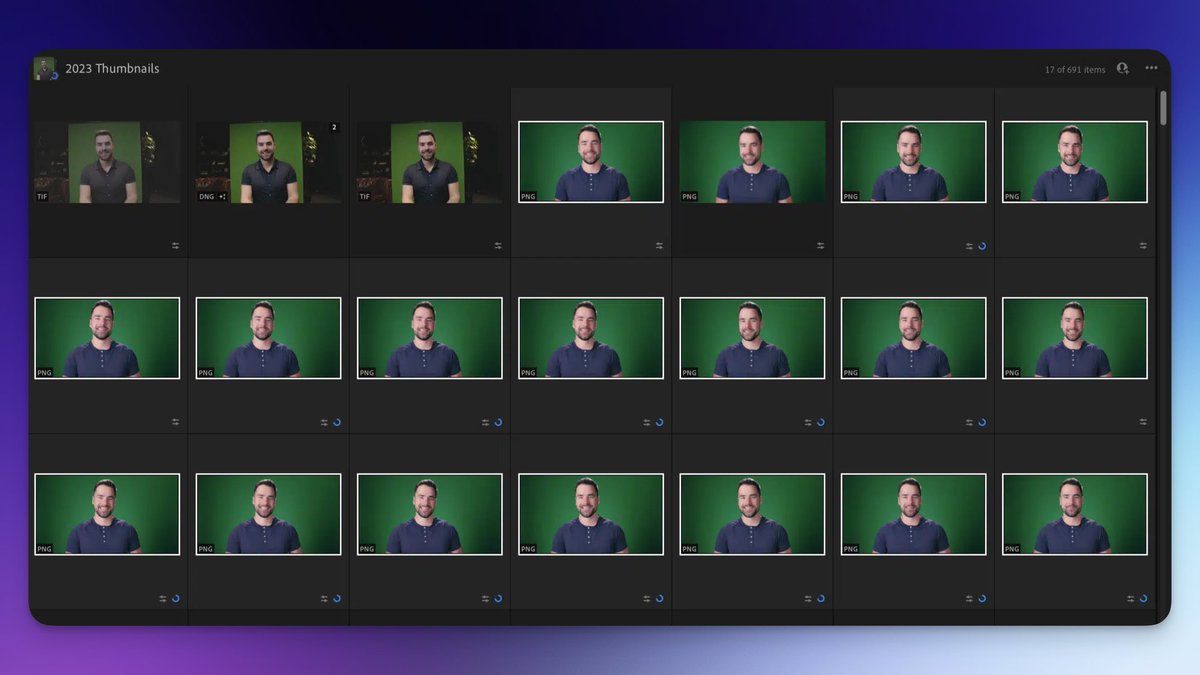
I have a gallery with tons of poses I took over a single session.
Nearly any emotion or reaction I'd want to use in a thumbnail is in it.
Here's how to make your own:
I have a gallery with tons of poses I took over a single session.
Nearly any emotion or reaction I'd want to use in a thumbnail is in it.
Here's how to make your own:
Set up a green screen if you can.
This makes cutting yourself out from the background easier.
If you can't, try to shoot against a flat background.
This makes cutting yourself out from the background easier.
If you can't, try to shoot against a flat background.

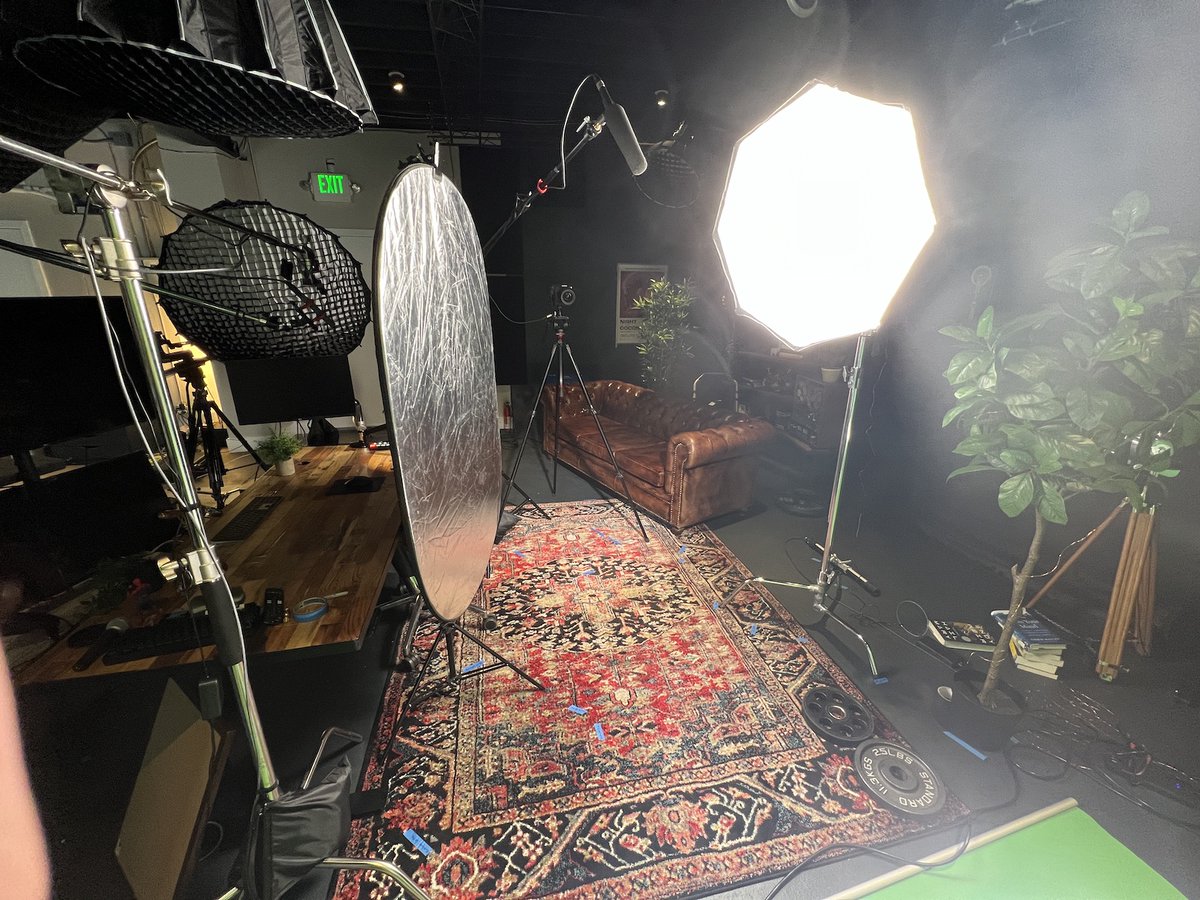
Green screen tips:
- Elgato makes a pop-up green screen that is great for small spaces
- Be as far away from the green screen as possible
- Light the green screen as evenly as possible
- Elgato makes a pop-up green screen that is great for small spaces
- Be as far away from the green screen as possible
- Light the green screen as evenly as possible
Set your camera to 60 FPS (this is important) and just do a ton of poses.
You're going to feel very silly doing this. Lean into it.
Actors and models have to practice smiling naturally on command.
I can do it just by saying "poop and butts" out loud 😛
You're going to feel very silly doing this. Lean into it.
Actors and models have to practice smiling naturally on command.
I can do it just by saying "poop and butts" out loud 😛

Seriously, have fun with this!
Your best poses will likely come from you just being silly and doing stuff that feels embarrassing.
Do some Mr. Beast faces. It's ok. You can delete the evidence later if you want.
Your best poses will likely come from you just being silly and doing stuff that feels embarrassing.
Do some Mr. Beast faces. It's ok. You can delete the evidence later if you want.
Bring your footage into your editing program and start going through it.
When you find a pose you like, add a marker.
(This is where you'll discover why 60 FPS is important. Your frames will be way more crisp. 24fps frames will have motion blur.)
When you find a pose you like, add a marker.
(This is where you'll discover why 60 FPS is important. Your frames will be way more crisp. 24fps frames will have motion blur.)
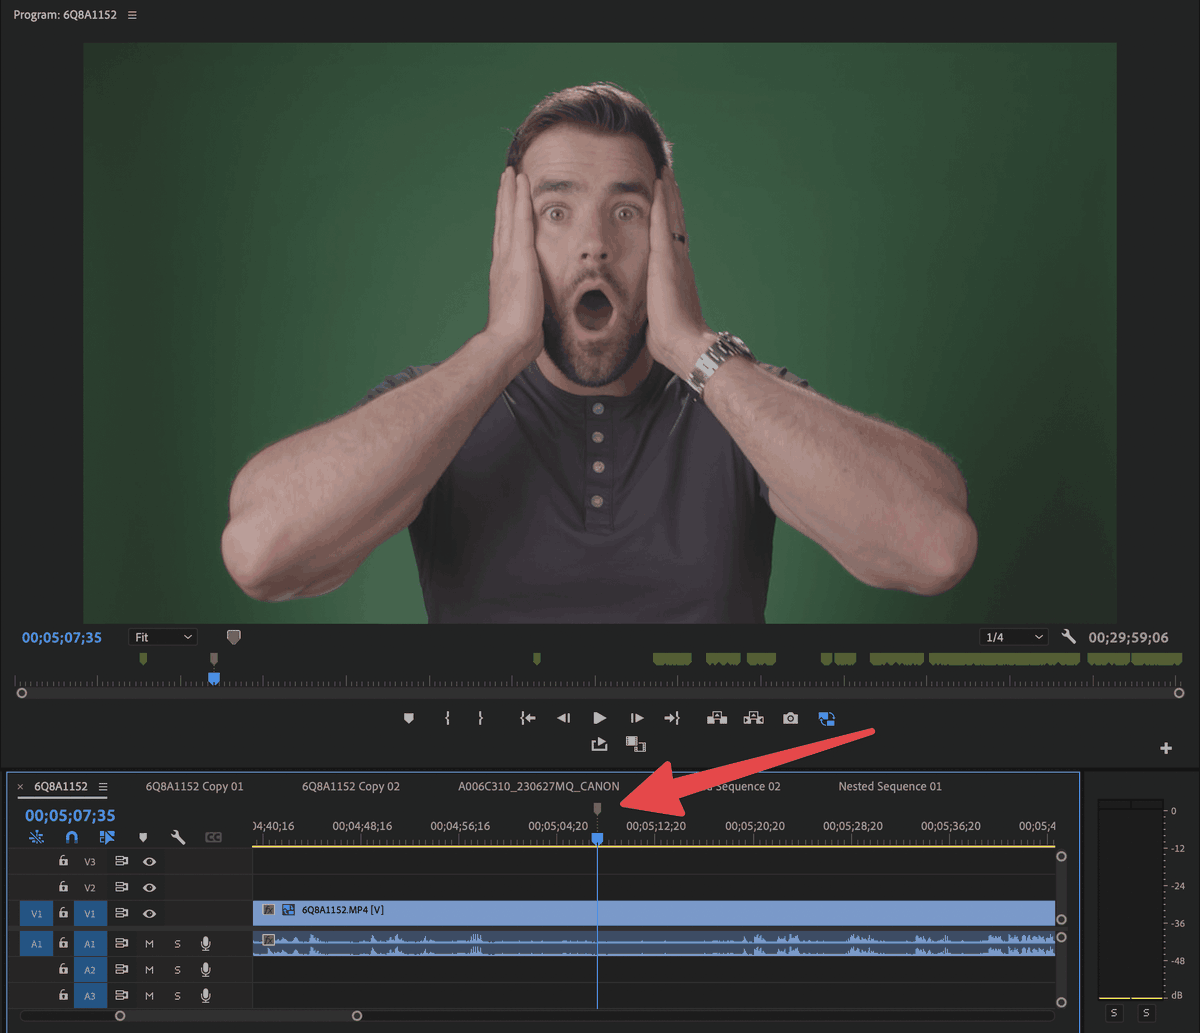
When you've set all your markers, you can start exporting stills.
If you use Premiere Pro, there's a wonderful plugin on AEscripts called Still Exporter that can export them all in bulk.
If you use Premiere Pro, there's a wonderful plugin on AEscripts called Still Exporter that can export them all in bulk.
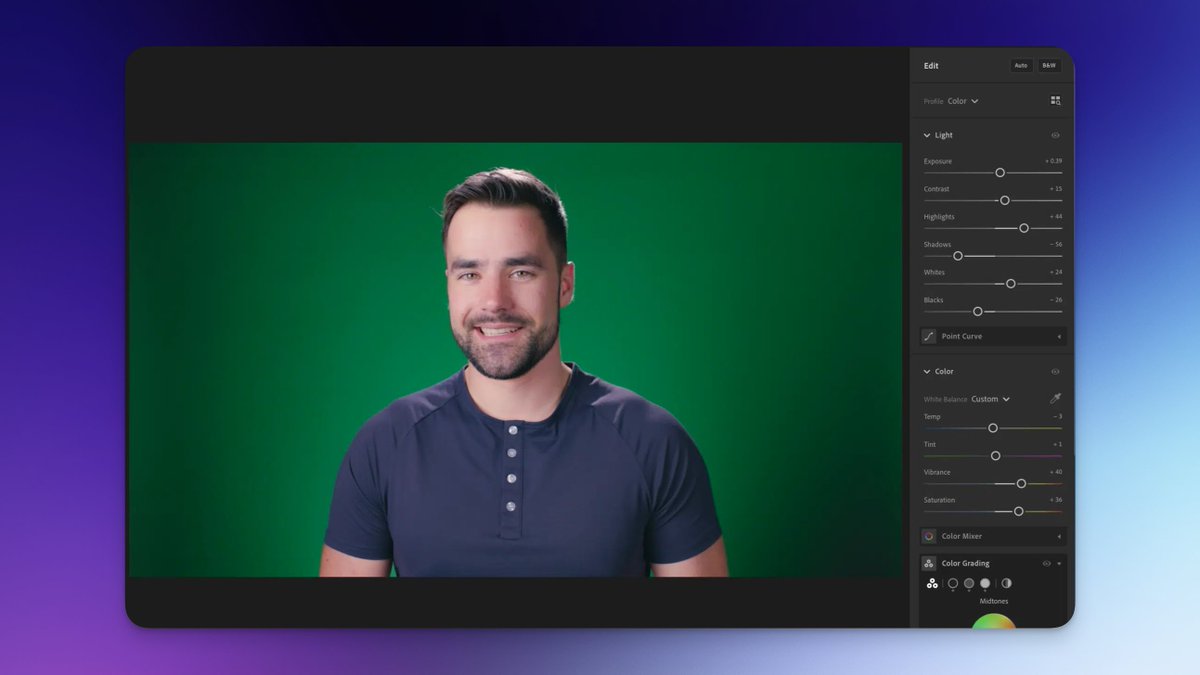
I like to bring all my stills into Lightroom, where I apply a quick grade to one of them.
After that, I can copy and paste the color settings to all the others.
After that, I can copy and paste the color settings to all the others.

My videos on Thomas Frank Explains all use the same background, so I created a template file in Photoshop that includes it.
When I need to make a thumbnail, I start from this template.
When I need to make a thumbnail, I start from this template.
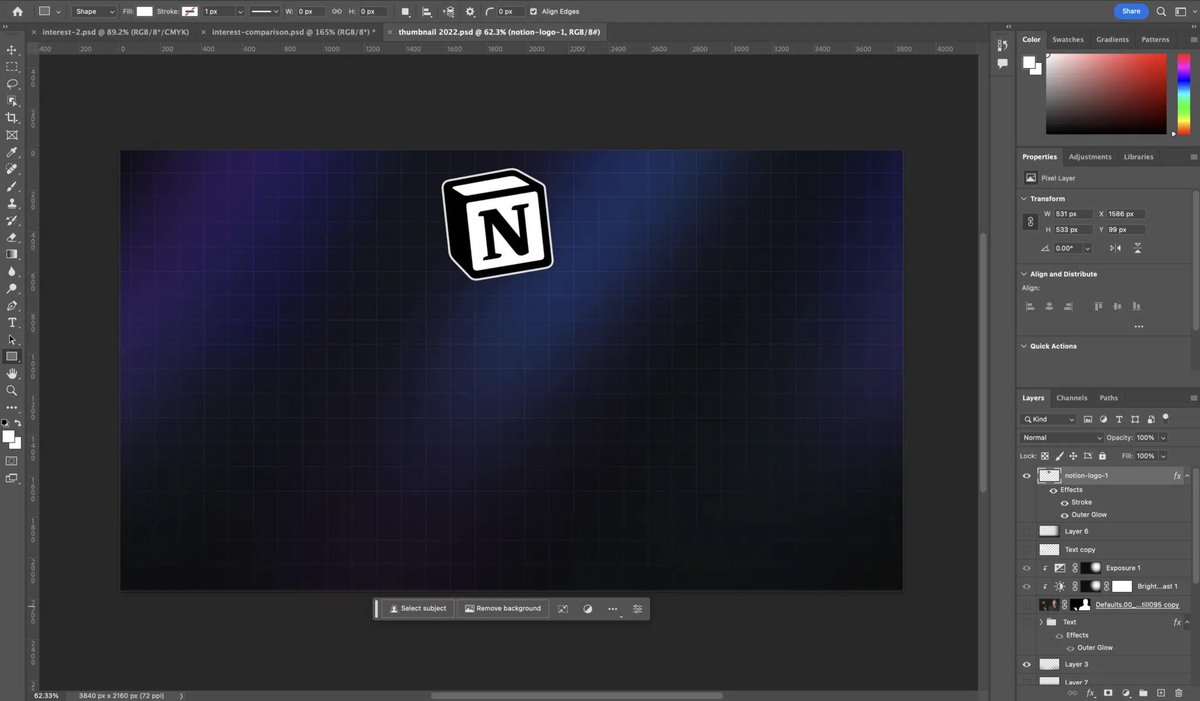
Then I pick a pose I like, drag it in, and use the Marquee tool to select the subject and extract it from the background.

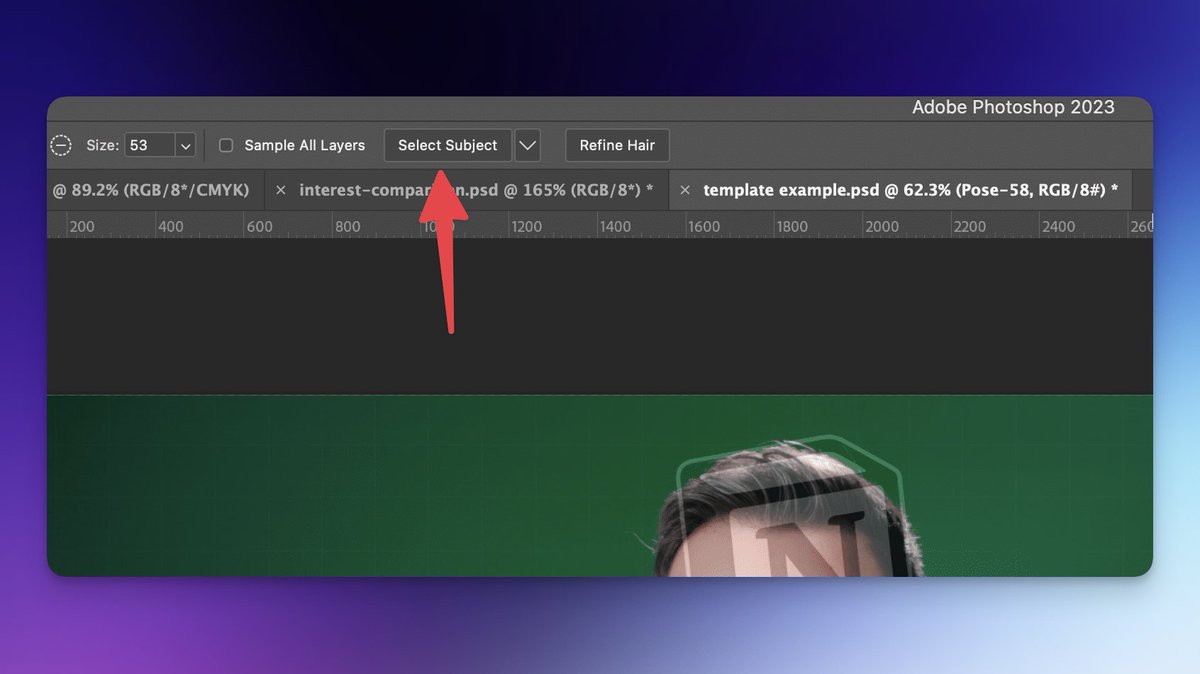
From there, I'll add text and other elements as needed.
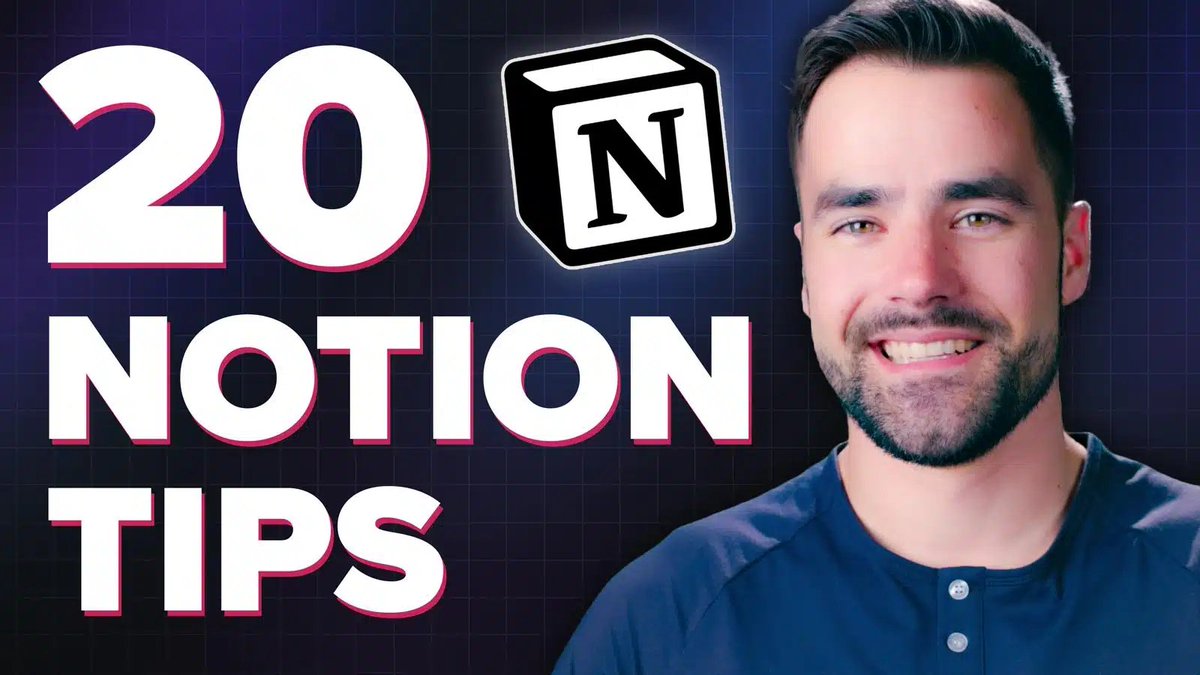
Here's thumbnail strategy tip:
- Your thumbnail (on its own) is meant to grab the viewer's ATTENTION.
- Your title + thumbnail, together, turn that attention into INTEREST and get people to click.
Resist the temptation to put too much text on your thumbnail.
- Your thumbnail (on its own) is meant to grab the viewer's ATTENTION.
- Your title + thumbnail, together, turn that attention into INTEREST and get people to click.
Resist the temptation to put too much text on your thumbnail.

Hope you find this helpful!
If you want to learn more, I wrote a massive guide on thumbnail design + strategy that you can find here:
thomasjfrank.com
If you want to learn more, I wrote a massive guide on thumbnail design + strategy that you can find here:
thomasjfrank.com

Loading suggestions...